Daemon Collector is a specialized system service, which provides close cooperation of system and users, that are online. Collector is easy to install on the site with the help of js inserts and allows to:
Place the code immediately prior to closing tag </head>
<script type="text/javascript">
(function(_,r,e,t,a,i,l){_['retailCRMObject']=a;_[a]=_[a]||function(){(_[a].q=_[a].q||[]).push(arguments)};_[a].l=1*new Date();l=r.getElementsByTagName(e)[0];i=r.createElement(e);i.async=!0;i.src=t;l.parentNode.insertBefore(i,l)})(window,document,'script','https://collector.ecomlogic.com/w.js','_rc');
_rc('create', 'site-key', {
'customerId': 'online-user-ID'
});
_rc('send', 'pageView');
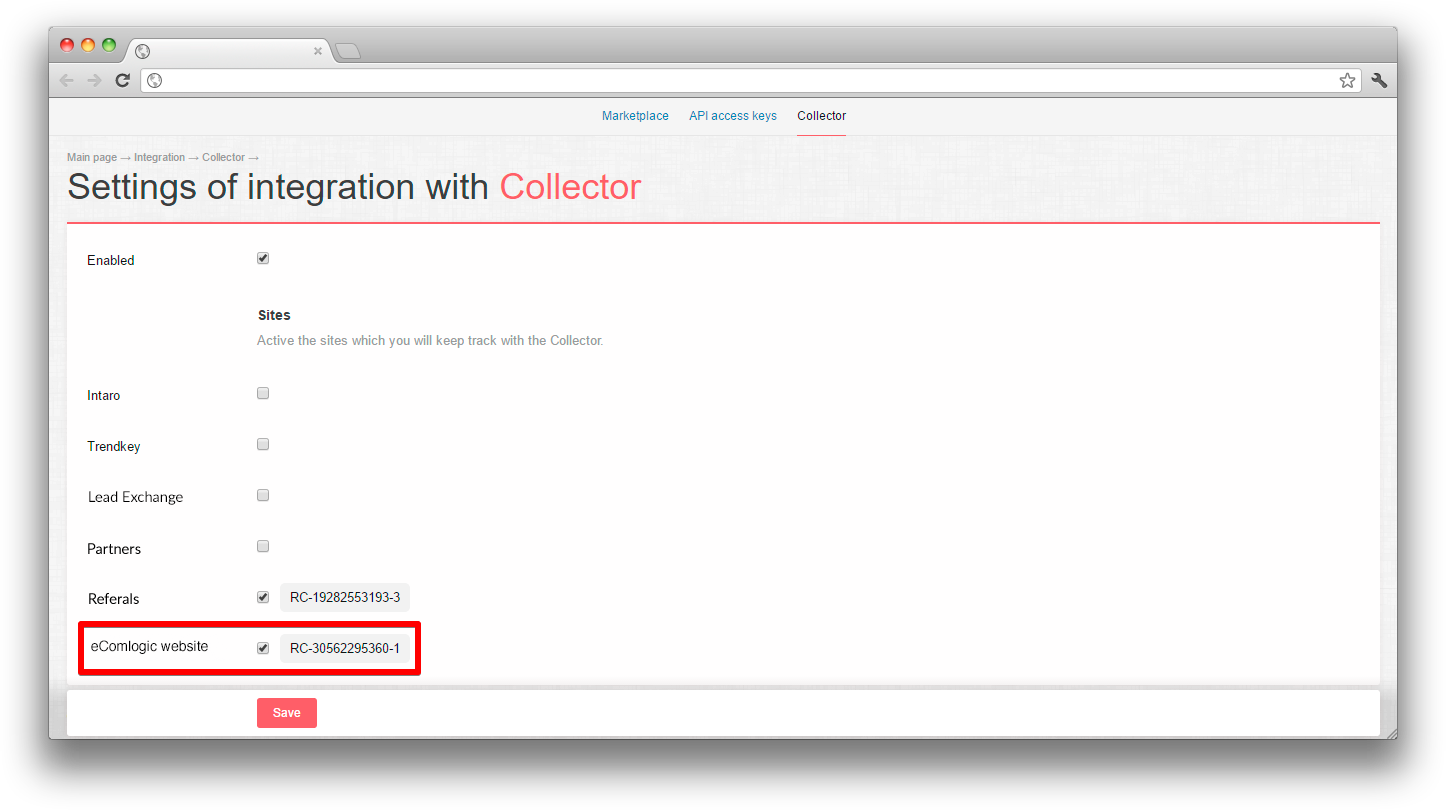
</script>When calling _rc('create'... the context initialization is occurred. The mandatory parameter for this call is the site key site-key, which is generated when you activate the site in the system section Administration > Integration > Collector.
If user is authorized on the site, it is necessary to send the user external id in the customerId key. If the user is not authorized, it is not necessary to specify the customerId key. In the capacity of value there should be the user external id.
Below you will find the examples of counter set up.
If the counter set up is correct, you will see which of your customers are online (green point on the left).
Beside the indicator there is online status filter in the list of orders.
Collector tries to identify the user, who came to the site according to any one of the following parameters:
customerId (if specified)
utma
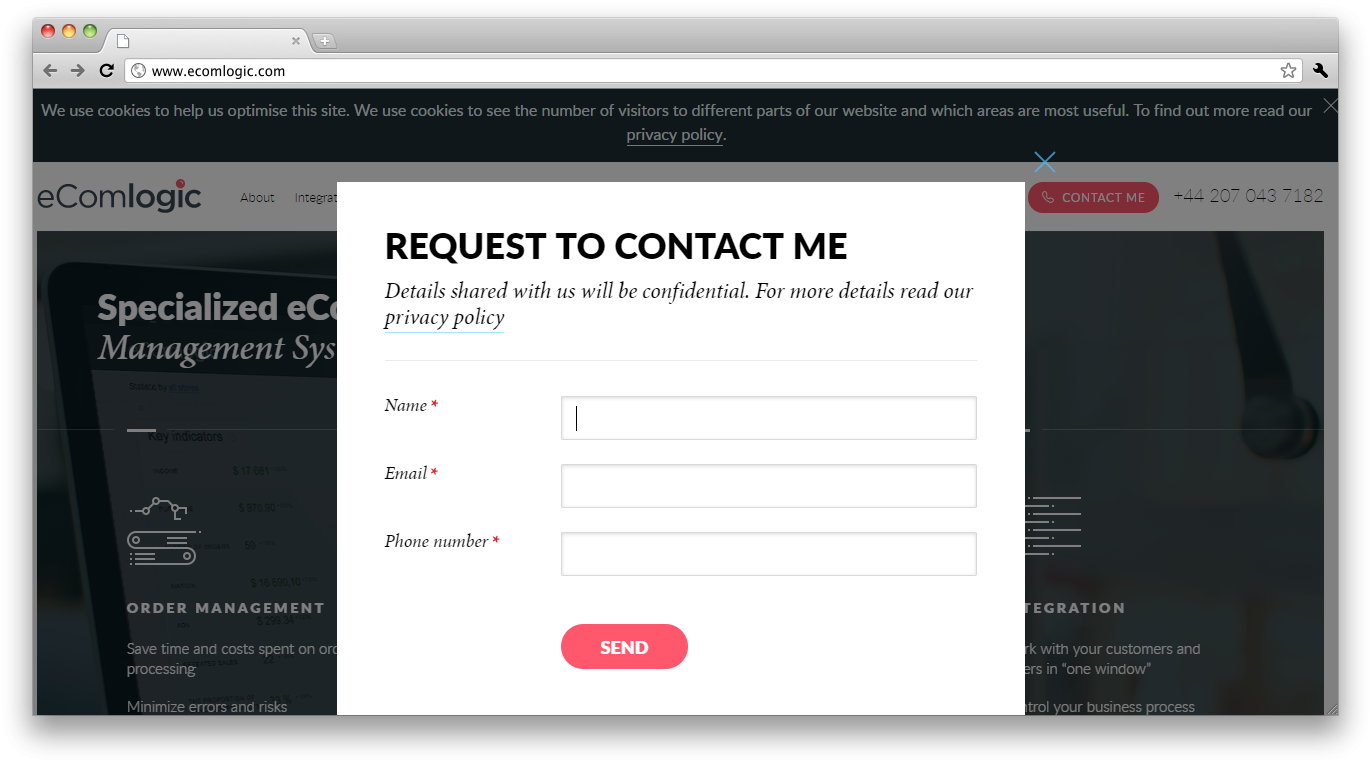
The capture form determine that the user is about to go from the site and suggest to specify his contact details for receiving special offers, news etc.

The form is the plugin module, for module download the require command is used.
_rc('require', 'capture-form');By default the form will be shown to the user once, no matter if the user had specified his contact details or close the form. In the period parameter you can specify (in minutes), in what time to show the form once again:
_rc('require', 'capture-form', {
    'period': 60 * 24 * 30 // show a month later
});
It is important! The form will not be shown to the authorized user, i.e. if in the calling code _rc('create'... the customerId is specified.
By default there are the following fields Name name, Phone numberphone, Email email. You can customize the structure of the fields:
_rc('require', 'capture-form', {
    'fields': {
        'name': {},
        'phone': { required: true, label: 'Phone number' } // phone is mandatory
    }
});
Also you can override the intro text and the inscription on the button:
_rc('require', 'capture-form', {
    'fields': {
        'phone': { required: true }
    },
    labelPromo: "Do you want we will call you back?",
    labelSend: "Call me back!"
});
Or like on the screenshot below.
While initialization or opening the form you can specify the following parameters:
name Name
email Email
phone Phone number
customerComment Customer comment
orderType Order type
orderMethod Order channel
itemId Item ID on the site
customSomeField Custom fields
The custom fields value are specified with the custom prefix, after which you should specify the custom field code in camelСase. For example, custom field bonus_code should be specified in terms customBonusCode.
_rc('require', 'capture-form', {
    orderMethod: 'online',
    email: "user@example.net",
    customTransactionId: "acde1625ab7"
});
You can call the form displaying manually:
_rc('capture-form:show', {
    'fields': ['phone']
});You can completely change the form, which will be used for user interaction, for this you should pass the parameter form during the initialization:
_rc('require', 'capture-form', {
    form: {
        show: function () {
            // the code, that will show the form to user, e.g.:
            // $('#my-cool-form').show();
        },
        hide: function () {
            // the code, that will close the form, e.g.:
            // $('#my-cool-form').hide();
        }
   }
});
The data sending you should realize independently (for details click here Request sending)
Daemon Collector allows to send the requests from your site to the system, without cooperation with full system API. The sending is carried out by calling _rc('send', 'order', {...}).
_rc('send', 'order', {
    'name': 'Victor',
    'email': 'some-email@gmail.com'
});
When sending you can specify the same parameters as for the capture form.
Below you can find the example of sending the feedback form to the system.
That’s how tracking code will look like while installation on the sites without customer database, for example to landing page.
<script type="text/javascript">
    (function(_,r,e,t,a,i,l){_['retailCRMObject']=a;_[a]=_[a]||function(){(_[a].q=_[a].q||[]).push(arguments)};_[a].l=1*new Date();l=r.getElementsByTagName(e)[0];i=r.createElement(e);i.async=!0;i.src=t;l.parentNode.insertBefore(i,l)})(window,document,'script','https://collector.ecomlogic.com/w.js','_rc');

    _rc('create', 'RC-16632969589');
    _rc('send', 'pageView');
</script>Tracking code will be like the example for the sites with the customer database, for example when setting on the online store pages.
<script type="text/javascript">
    (function(_,r,e,t,a,i,l){_['retailCRMObject']=a;_[a]=_[a]||function(){(_[a].q=_[a].q||[]).push(arguments)};_[a].l=1*new Date();l=r.getElementsByTagName(e)[0];i=r.createElement(e);i.async=!0;i.src=t;l.parentNode.insertBefore(i,l)})(window,document,'script','https://collector.ecomlogic.com/w.js','_rc');

<?php
    $params = array();
    if ($customer->isAuth()) {
        $params['customerId'] = $customer->getId();
    }

    echo sprintf("_rc('create', 'RC-16632969589', %s);\n", json_encode((object) $params));
?>

    _rc('send', 'pageView');
</script>Let`s suppose that there is a landing page with the request form, that is connected to the CPA-network. We need to send the form to the system with an indication of CPA-network ID transaction in the custom field transaction_id.
1) Create the custom field transaction_id. More information about custom fields you can find here.
2) Connect jQuery for convenient work with request form and jQuery-plugin for receiving the URL-parameters:
<script src="https://ajax.googleapis.com/ajax/libs/jquery/1.11.3/jquery.min.js"></script>
<script type="text/javascript" src="/jquery.url.js"></script>
3) Add the Collector tracking code:
<script type="text/javascript">
    (function(_,r,e,t,a,i,l){_['retailCRMObject']=a;_[a]=_[a]||function(){(_[a].q=_[a].q||[]).push(arguments)};_[a].l=1*new Date();l=r.getElementsByTagName(e)[0];i=r.createElement(e);i.async=!0;i.src=t;l.parentNode.insertBefore(i,l)})(window,document,'script','https://collector.ecomlogic.com/w.js','_rc');

    _rc('create', 'RC-16632969589');
    _rc('send', 'pageView');
</script>
4) Customize the form sending. When sending the request specify the order channel «Feedback form» feedback. After sending, inform the user about the result.
<script type="text/javascript">
$(function() {
    $('#feedback-form').submit(function() {
        _rc('send', 'order', {
            'name': $(this).find('input[name=name]').val(),
            'email': $(this).find('input[name=email]').val(),
            'customTransactionId': url('?transaction_id'),
            'orderMethod': 'feedback',
            'callback': function(success, response) {
                // inform the user about the result of the form sending
                // instead the alert() you can display more user-friendly message
                if (success) {
                    alert('Thank you, your request is accepted! Its number: ' + response.id);
                } else {
                    alert('Unfortunately, failed to send a request.');
                }
            }
        });

        return false;
    })
})
</script>